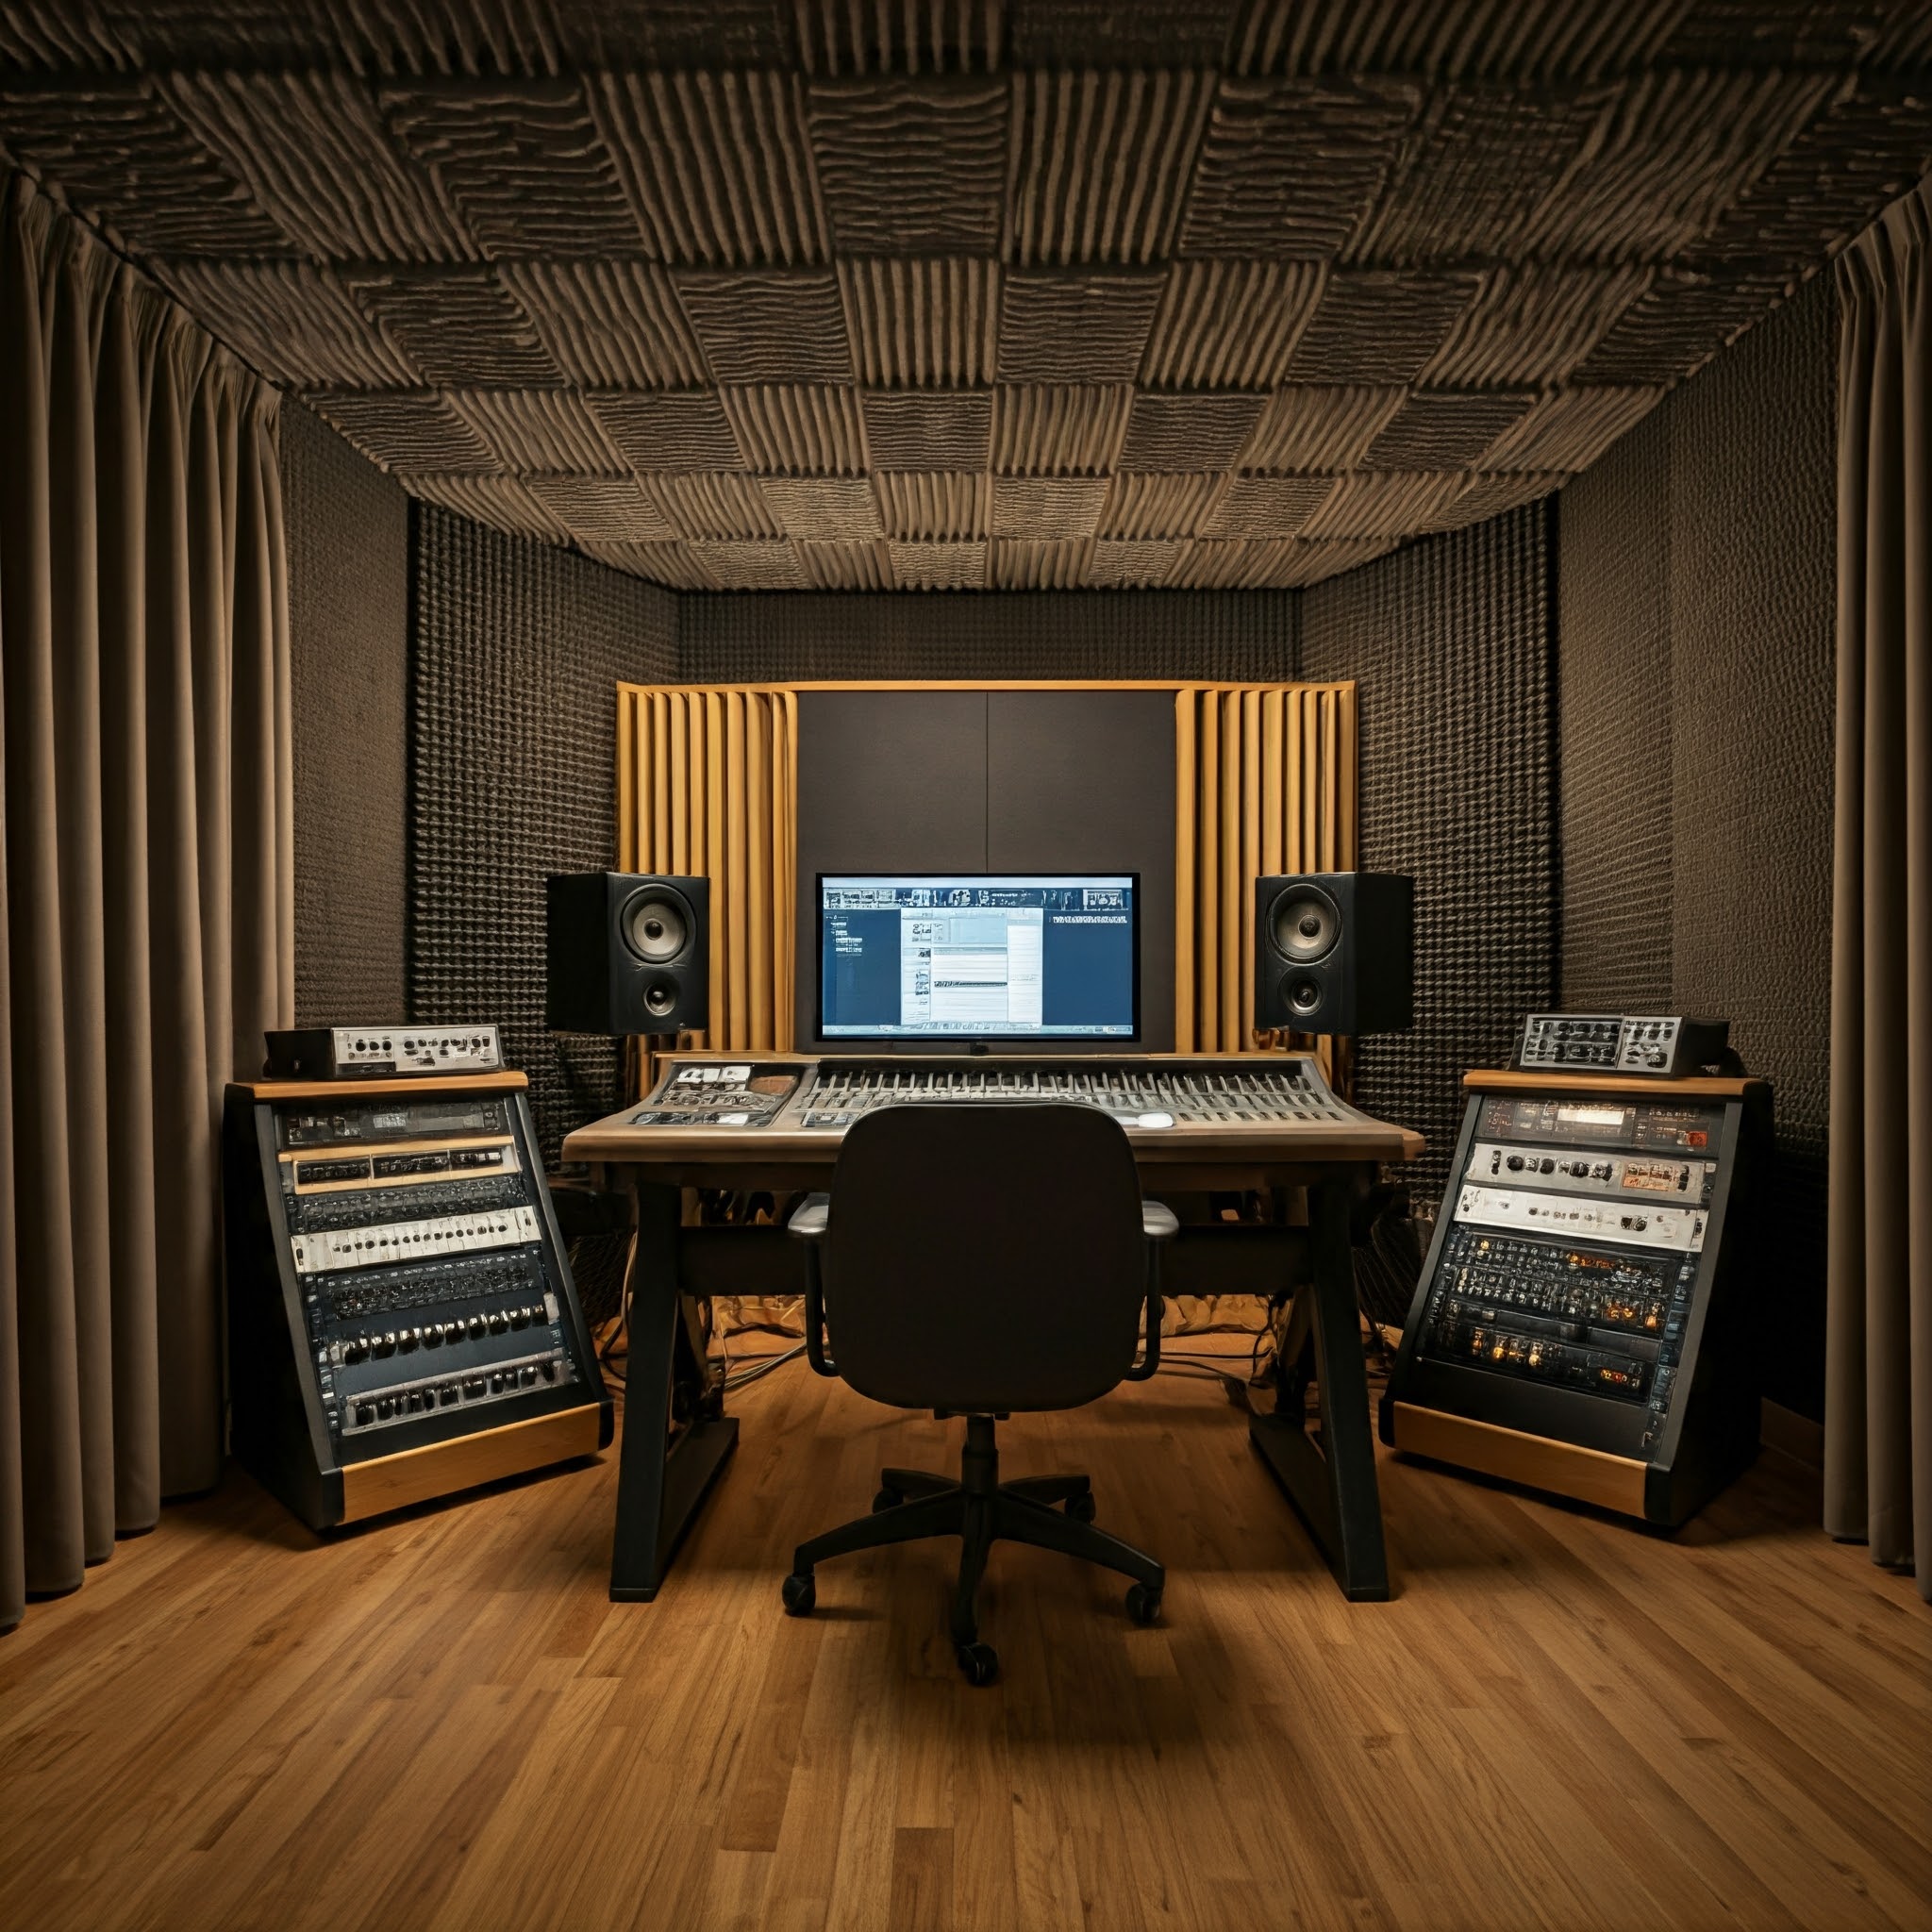
Building a music studio in a shed can be an exciting and cost-effective way to create your own dedicated space for music production, practice, or recording. Whether you’re a hobbyist looking for a quiet place to work or a professional musician aiming to expand your creative environment, a shed can be the perfect starting point. This guide will walk you through the essential steps of turning a standard shed into an acoustically optimized music studio.
Why Build a Music Studio in a Shed?
Before diving into the steps, it’s important to consider why a shed is an excellent option for building a music studio:
- Space Efficiency: Sheds offer a separate, self-contained space that doesn’t take up valuable real estate inside your home.
- Privacy: Having your own studio in a shed provides isolation from household distractions, allowing for uninterrupted recording or practice sessions.
- Affordability: Building a studio in a shed can be a cost-effective solution compared to renting a commercial space or renovating a room in your house.
- Customization: A shed provides a blank canvas, allowing you to design and build the studio to suit your specific needs.
Step 1: Choosing the Right Shed
The first step in building a music studio in a shed is choosing the right one. Not all sheds are created equal, and selecting one that suits your needs is crucial.
- Size: Make sure the shed is large enough to accommodate your equipment, instruments, and any other studio furniture you plan to use. Ideally, you should have space for a desk, chairs, music gear, and storage.
- Location: Choose a location for your shed that is quiet and offers minimal outside noise interference. A shed in the backyard or in a secluded area away from busy roads or neighbors is ideal.
- Condition: Assess the condition of the shed. If it’s older or has structural issues (such as leaks or cracks), you may need to invest in repairs or upgrades before turning it into a studio.
Step 2: Insulation and Soundproofing
Soundproofing and insulation are essential when transforming your shed into a music studio. You want to prevent both external noise from entering and internal noise from leaking out. Here’s how to approach insulation:
- Install Insulation: Begin by insulating the walls, ceiling, and floor. This will help regulate the temperature inside the studio and improve sound isolation. Common insulation materials include fiberglass batt insulation, foam board, or spray foam insulation.
- Double Layer Drywall: To reduce sound transmission, consider adding a second layer of drywall with a sound-dampening material such as Green Glue between the layers. This helps to decouple the drywall and prevents vibrations from passing through.
- Seal Gaps: Seal any gaps around windows, doors, and electrical outlets with acoustic caulk. Even small cracks can allow sound to leak in or out.
- Soundproofing Doors and Windows: The door and windows are usually the weakest points for soundproofing. Replace the shed door with a solid core door, and use weatherstripping or acoustic seals around the edges. If the windows are large, consider using double-glazed acoustic windows or covering them with soundproof window inserts.
Step 3: Acoustic Treatment
Once you’ve soundproofed the shed, the next step is to treat the acoustics inside. This ensures that your music will sound accurate and clear, with minimal unwanted reflections or reverb. Key acoustic treatments include:
- Bass Traps: Place bass traps in the corners of the room to absorb low-frequency energy. These help reduce muddy, boomy sounds and make your recordings clearer.
- Acoustic Panels: Install broadband absorbers (acoustic panels) on the walls to absorb mid- and high-frequency sounds. These panels can be placed at the first reflection points on the walls and ceiling to reduce reverb.
- Diffusers: Use diffusers to scatter sound waves evenly across the room, preventing harsh reflections that can muddy your mixes. Diffusers are especially useful in rooms with parallel walls.
- Ceiling Treatment: If your shed has a flat ceiling, it might reflect sound waves. Consider installing acoustic foam or panels on the ceiling, particularly above the listening and recording area.
Step 4: Flooring
The floor of your shed can play a significant role in both the comfort and acoustics of the room. The right flooring choice can help control sound reflections and provide comfort for long recording or practice sessions.
- Carpet or Area Rugs: Hard floors like concrete or wood can create reflections and make your room sound too “live.” Carpet or area rugs can help absorb sound and reduce the amount of unwanted reverberation.
- Floating Floors: If you want maximum sound isolation, consider installing a floating floor. This involves adding a layer of soundproofing material (such as mass-loaded vinyl or dense rubber) beneath the flooring to decouple it from the subfloor, reducing sound transmission.
Step 5: Electrical Setup and Lighting
Now that your shed is insulated, soundproofed, and acoustically treated, it’s time to think about the studio’s functionality. A proper electrical setup and lighting are key for creating a comfortable and efficient working environment.
- Power Outlets: Make sure your shed has enough power outlets to accommodate your equipment, including computers, audio interfaces, mixers, speakers, and instruments. It might be necessary to run a new circuit if your existing electrical setup isn’t sufficient.
- Proper Lighting: Opt for adjustable, dimmable LED lighting to create a comfortable atmosphere. You can also use task lighting for your desk or music gear.
- Grounding: Proper grounding is essential for preventing electrical interference, especially when working with sensitive audio equipment. Ensure that your electrical system is properly grounded to avoid issues with hum or noise in your recordings.
Step 6: Furnishing and Organization
Once your shed is acoustically optimized and fully powered, it’s time to furnish the studio. The key here is to create a functional layout that enhances your workflow and keeps your equipment organized.
- Studio Desk: Invest in a sturdy desk that provides ample space for your computer, audio interface, monitors, and any other equipment you need. Adjustable standing desks are a great option if you prefer to switch between sitting and standing while working.
- Studio Monitors: Position your studio monitors (speakers) at ear level, and place them on monitor stands or isolators to prevent vibrations from transferring to the floor.
- Storage Solutions: Use shelves, racks, or drawers to store instruments, cables, and other equipment. Keeping the space organized will make your workflow more efficient and reduce clutter.
- Seating: Comfortable seating is essential for long hours of work. Invest in an ergonomic chair to ensure that you can stay focused without strain.
Step 7: Final Touches
Once the basics are set up, consider adding some personal touches to make your shed music studio inspiring and comfortable. This might include:
- Soundproof Curtains: Use thick curtains on any windows to help with sound absorption.
- Decor: Add some artwork, plants, or other elements to make the space feel more like your own.
- Climate Control: If your shed isn’t already equipped with heating or cooling, consider adding a portable air conditioning unit or space heater to maintain a comfortable temperature year-round.
Conclusion
Building a music studio in a shed can be a highly rewarding project that gives you a dedicated, soundproof space to create music. By following the steps outlined in this guide—choosing the right shed, soundproofing, treating acoustics, and setting up a functional workspace—you can turn a simple shed into a professional-sounding, comfortable music studio. With a little time, effort, and creativity, you’ll have a personalized space that supports your musical journey, whether you’re recording tracks, producing beats, or just jamming out.
Happy building, and enjoy your new studio!
